

Start with what matters to you
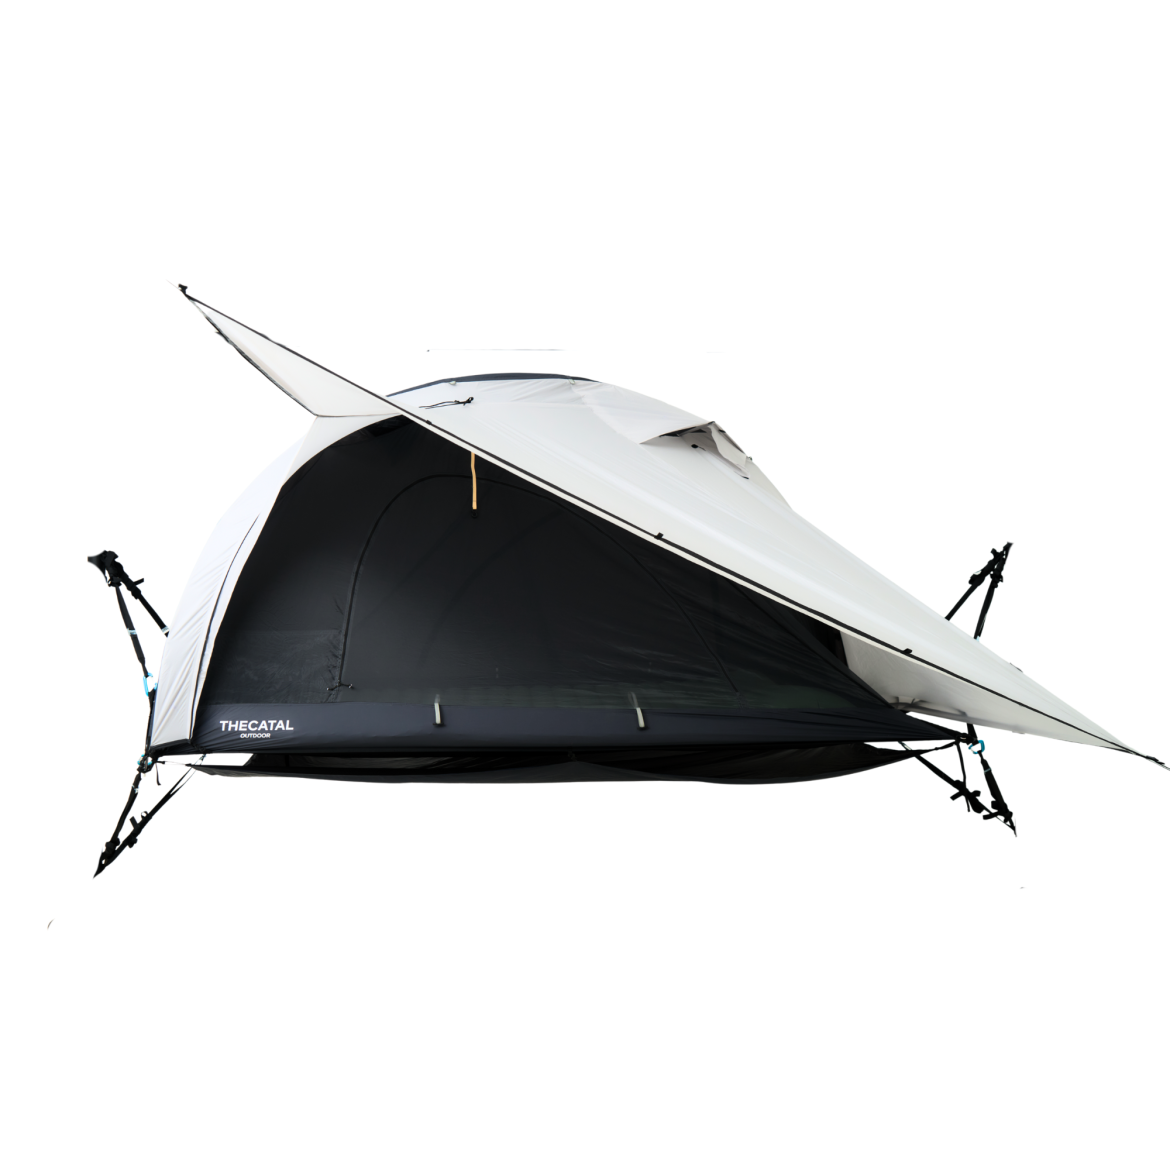
You’re after a small tent that works — not something fiddly or flashy. Think about where you stash your boots, how you breathe at night, and whether you can sit up without bonking your head. That’s the user-first lens I write from, and if you’re sizing gear or eyeballing options, a quick look at thecatal outdoor gives you a sense of how purpose-built tents tackle those basics without nonsense.

What to expect from a small hiking tent
A compact tent won’t have room for a lounge suite, but it should offer: sensible vestibule storage, cross-ventilation that actually reduces condensation, and a floorplan that places your sleeping pad where it stays dry. Ask whether the design places kit under a covered vestibule, or forces you to cram gear at your feet. Aim for clever, not cramped.
Storage solutions that actually work
Prioritise vestibules sized for your pack and wet gear. Internal pockets are handy for headlamps and phones, but the real win is a covered exterior space for boots, stoves and soggy jackets. Use a simple system — stuff sacks organised by function, and a small dry-bag for overnight essentials — so you’re not digging through your sleep zone at 3am in the cold.
Ventilation: fewer damp mornings
Small tents trap moisture fast. Look for two features: opposing vents near the fly and low-level mesh panels to let cool air draw out warm, humid air. Tilted flies are better than flat ones because they encourage airflow. On wet trips, set the fly taut and open vents slightly rather than sealing everything — that cuts condensation more reliably than trying to create a hermetic seal.
Comfort with a compact footprint
Comfort is mostly about sleep system pairing. Measure your pad and pick a tent with internal width that gives you 5–10cm clearance each side. Ceiling height matters for sitting up; even a modest peak improves late-evening prep. If you like cooking under cover, check vestibule clearance and whether the tent allows a small stove-fed setup without smoke wafting inside.
Field-tested notes and a real-world anchor
From seasons of tramping in the South Island to weekend climbs near Lake Taupo, I’ve noticed common weak spots: undersized vestibules, vents that sit too high, and flimsy compression straps. If you’ve seen glampsites around Lake Taupo, the challenges of keeping a tidy pack space are obvious; that’s where a well-designed outdoor glamping tent shows how clarity in layout translates to less fiddling and more sleep. These observations come from time in the field and conversations with guides and gear techs who test for real conditions.
Mistakes hikers make with small tents
Don’t buy a tent because it’s light alone. Too-light fabrics or undersized vestibules create tricky trade-offs. Don’t assume mesh panels equal ventilation — placement matters. And don’t neglect a proper groundsheet or footprint; punctures and damp floors ruin comfort faster than a noisy fly in wind.
Quick checklist before you buy
Check vestibule size for your packed gear, confirm vent placement (low and opposite), measure internal width against your sleeping pad, verify seam and fly tension points, and confirm guyline attachment points. If possible, pitch one in a shop or at a local club night to test sit-up room and door clearance.

Bringing it together
If you want a small tent that serves your trips — less faff, more sleep — focus on storage layout, sensible ventilation, and matching your sleep kit to the internal dimensions. That sort of clear thinking is what you get from gear designed with time outdoors in mind, the same practical approach that sits behind THECATAL and helps make trips simpler and more comfortable without overcomplicating the kit list.