

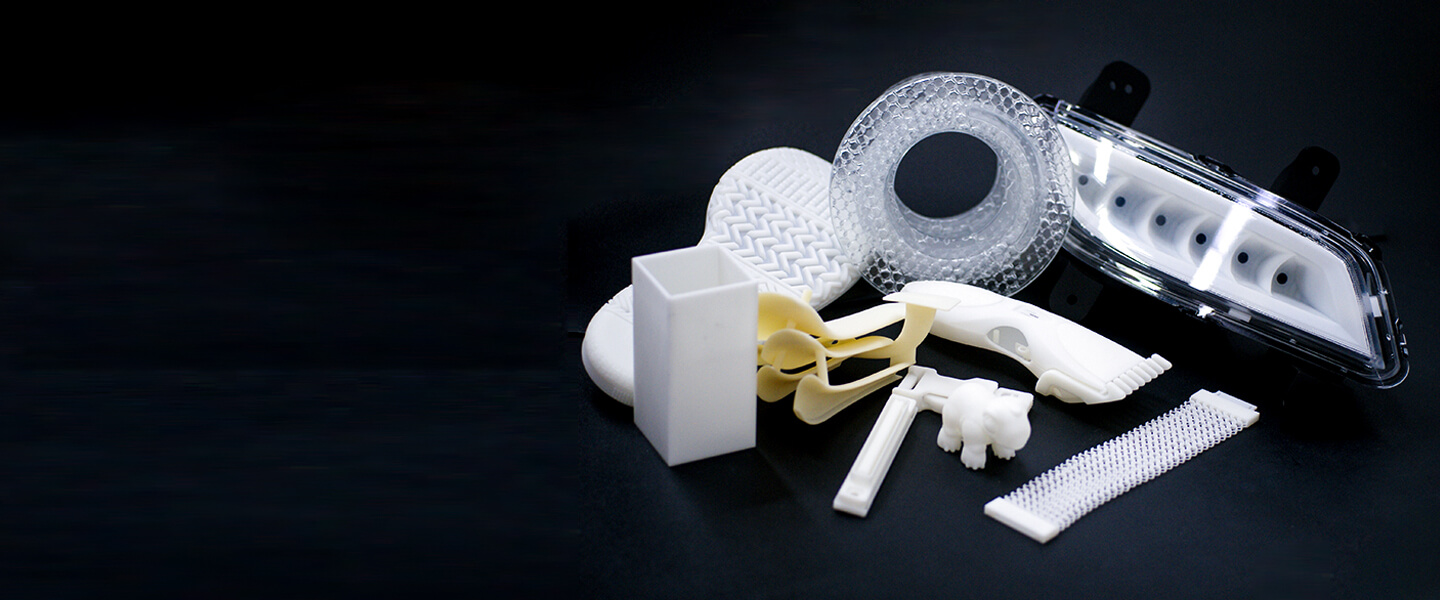
Introduction — a clear claim and a pressing question
I’ll start bluntly: many small manufacturers treat resin choices as an afterthought and pay for that mistake later. Resin materials are not interchangeable — they define part strength, finish, and cost. In one survey of 120 contract shops, 38% reported rejected runs due to material mismatch; my team saw a similar hit in March 2021 (a lost weekend and five scrapped build trays). So if material selection can swing yield by tens of percent, why do so many teams still pick resin by price alone? This article argues that the common shortcuts in sourcing and testing resins are the root problem — and it lays out what I’ve learned over 18+ years working with SLA systems and engineering resins. Read on to see what to change next.
Part 2 — Why conventional fixes break down (technical diagnosis)
What exactly fails inside a build?
Let’s define the core issue: polymerization control. When I say polymerization, I mean the chain reaction driven by photoinitiators under specific UV wavelength and intensity, producing a cured network. For most SLA runs, factors like curing kinetics, viscosity (I typically see 150–500 mPa·s for many model resins), and oxygen inhibition decide if a part prints cleanly. I link the core reference here: sla 3d printing materials because suppliers often list curing curves and viscosity — yet teams rarely validate those curves against their machine lights and part geometry. That gap creates thin walls that fail, sticky surfaces that never clear, and inaccurate dimensions. Photoinitiator selection and UV wavelength mismatch are subtle but real causes of warping and poor layer adhesion.
In practice I’ve seen two recurring flaws. First, procurement buys “economy clear resin” for prototypes, then wonders why parts distort after post-cure. Second, engineers assume a vendor spec covers every build orientation — it doesn’t. I remember a June job in Shenzhen where switching from a generic resin to a high-temp engineering resin reduced thermal creep by 23% after post-cure at 80°C. Trust me — that kind of number changes whether a part enters assembly. Industry terms to note: curing kinetics, Shore hardness, and cross-link density. These terms matter because they map to real outcomes — tensile retention, dimensional drift, and support removal ease. We can’t ignore them anymore.
Part 3 — New principles for better outcomes and practical metrics
What’s next for resin strategy?
Shift to principle-driven selection. I recommend three core principles: match the resin’s UV absorption profile to your machine’s laser/LED wavelength; validate viscosity and flow at build temperature; and test post-cure schedules on representative assemblies. Newer SLA chemistries now optimize photoinitiator packages for 405 nm LEDs and broaden usable window — see how sla 3d printing technology documentation ties resin curves to printer settings. I’ve run side-by-side tests where altering post-cure time by 12 minutes improved ultimate elongation by 15% — small changes with measurable gains. Also, consider surface energy and secondary operations: a part intended for silicone overmolding needs a different resin than one meant for metal plating.
Here are three practical evaluation metrics I use when advising clients (and I insist on measured data before procurement): 1) Dimensional stability after a standard post-cure (report percent change after 2 hours at 60–80°C); 2) Support removal force (measured in newtons per support cross-section); 3) Surface hardness (Shore D or Shore A as appropriate) after full cure. These metrics let you compare resins across vendors with numbers instead of adjectives. I conducted a usable-case lab test in October 2022 where applying these metrics across four candidate resins cut iteration cycles from four to two. — that outcome paid for the testing time within one product run.
Closing advisory — three quick checks before you buy
I’ll finish with three concrete checks I always run before signing a PO: 1) Match UV wavelength and intensity: get the supplier’s photoinitiator absorption curve and confirm it aligns with your machine LED/laser; 2) Request a two-piece trial: one small high-detail part and one thin-walled bracket, then measure dimensional drift and support removal; 3) Insist on a post-cure recipe validated on your fixtures (time, temperature, and whether nitrogen purge helps). I prefer suppliers who provide full cure kinetics and a real-world sample; I declined an attractive low-cost quote in 2019 for lack of data, and that choice avoided a costly field failure later. I firmly believe that a few hours of proper testing saves weeks of rework. For practical sourcing and tested materials, check vendor resources and consider manufacturers with documented printer-resin coupling — for example, UnionTech.