


Why compare lenses? The short version
We gotta talk beam spread — not just ’cause it sounds slick, but because lens engineering literally writes how a space reads at night. In a commercial setup, the difference between a tight cutoff and a soft wash can make or break safety, brand vibe, and energy bills. I’m talkin’ garden wall lights that sculpt façades, versus bollard lights and outdoor path lights that guide foot traffic — each optical choice answers a different mission. We’ll compare lens types, beam control, and photometric trade-offs so you can pick what actually works for your project.

Core optics primer — what actually changes the beam
At the heart of it: lens optics, reflector geometry, and LED placement. Swap any of those and the beam spread shifts. Lens texture (clear, frosted, micro-prism) smooths or fragments light; reflector depth tightens the beam; LED position alters uniformity. Toss in control of lumen output and you’ve got a toolkit for either bada$$ accent lighting or consistent pathway illumination. For commercial builds, CRI and IP rating matter too — color rendering and weather resilience aren’t optional if you want an installation that lasts and looks pro on inspection day.
Comparative breakdown: garden wall lights vs bollards vs path fixtures
Let’s keep it crisp: each fixture class serves a primary function, and lens engineering supports that function.
- Garden wall lights — usually optimized for controlled wall grazing or façade uplighting. Lenses focus on beam shaping and cutoff to prevent spill and preserve façade texture.
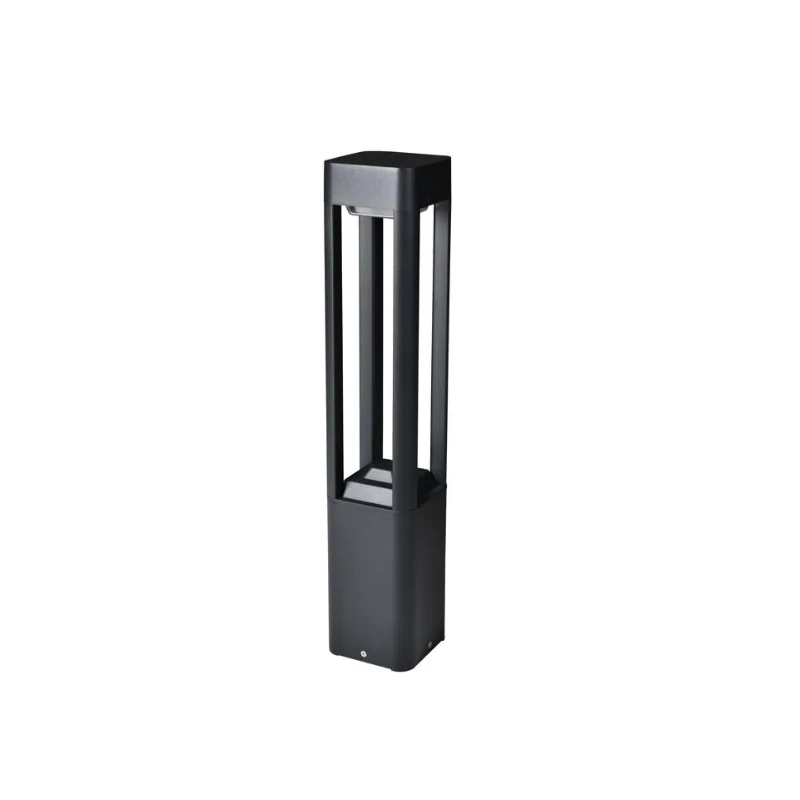
- Bollard lights — designed for near-ground distribution, often with diffusers or top shields to reduce glare and create even pools of light for movement cues.
- Outdoor path lights — prioritize uniformity and low glare along walkways; optics aim for elongated beam patterns and consistent lumen output per meter.
Think of it like DJs mixing tracks: each fixture plays a different frequency in the overall set. The wrong lens and your set turns into noise — or worse, a safety hazard.
Real-world anchor: why designers care (peep the High Line)
Look at NYC’s High Line retrofit — designers tightened beams and controlled spill to highlight plantings and paths while avoiding light trespass into neighboring apartments. That kind of intentional lens engineering improved safety and kept the artful vibe intact. It’s a clear example: when photometrics are done right, public spaces feel safer and more inviting — and maintenance crews love predictable lumen depreciation numbers.
Common mistakes crews make — and how to dodge ’em
Most screw-ups come from mismatched intent and optics. Folks pick a fixture because it’s cheap, then wonder why glare ruins a storefront at night. Or they spec a high lumen output without thinking about cutoff, so neighbors get blasted. Another trap: ignoring IP rating when fixtures are exposed to heavy rain — you’ll pay for reworks. —
Fixes: mock up full-scale with the actual lens/LED combo, run photometric studies, and insist on on-site verification tests before final sign-off.
Quick spec guide for decision-makers
When you’re choosing lenses for commercial exterior lighting, score candidates on these axes:
- Beam spread fit: Does the beam shape match the intended surface (wall, path, bollard area)?
- Glare control & cutoff: Is there shielding or a sharp cutoff to protect sightlines and neighbors?
- Durability metrics: IP rating and thermal management to protect lumen output over time.
Alternatives and trade-offs — don’t get boxed in
Sometimes a hybrid approach wins: use focused garden wall optics for façade drama, paired with bollards for wayfinding and low-level safety. Or choose adjustable optics that let you dial beam spread on-site — handy if site conditions change. Budget pressure pushes some teams toward cheaper diffusers, but that often sacrifices uniformity and increases fixture count — which ups maintenance costs long-term.
Three golden rules (your final checklist)
1) Match optics to mission: specify beam angle and cutoff based on surface geometry, not on what looks cool in a catalog. 2) Verify with photometrics: require IES files and an on-site mock-up to confirm real-world performance. 3) Design for lifecycle: prioritize IP rating and thermal design so lumen output doesn’t tank after a season.
Get those three right and you’ve minimized rework, kept occupants safe, and locked in the visual identity you wanted from day one.
Keyida knows the beam game — they help marry the right lens to the right fixture so your site reads like lighting was always meant to. —