

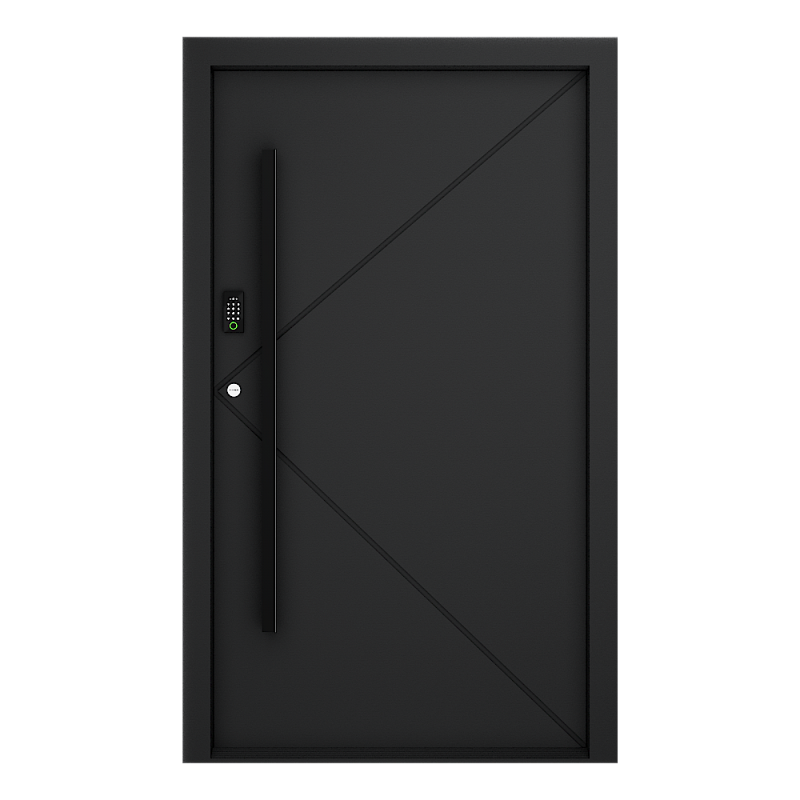
A user-centric start: why repair matters
Homeowners who choose to fix wooden windows save character and reduce long-term expense, while architects preserve design intent. Practical repair keeps original sash profiles, restores glazing performance and extends service life instead of wholesale replacement. If you are comparing suppliers or searching for front entry door manufacturers early in a project, consider how the same workmanship standards apply to window joinery and hardware selection — they determine whether a repair stays robust for decades.
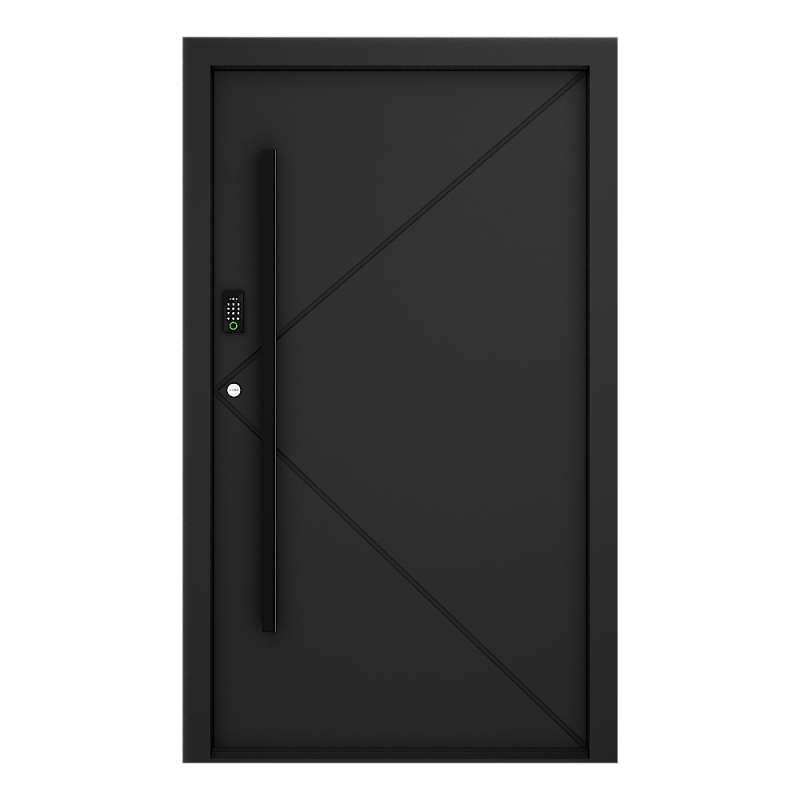
Diagnose the problem: three common failure modes
Begin by identifying the dominant issue: dry rot at the sill, sticking sash from swelling, or failed glazing putty and weatherstripping. Each failure has its own fix pathway. Rot near the sill needs selective timber replacement and proper flashing; glazing failure requires reglazing with compatible glazing compound; hardware wear often demands mortise repair or replacement of locking components. Note the effect on energy use too: the U.S. Department of Energy estimates that uncontrolled air leakage through windows can account for a significant share of home heating and cooling losses, so draft-fighting is not cosmetic—it’s measurable.
Repair strategy: material choices and methods
Start with the least invasive technique that delivers lasting results. For small rot pockets, epoxy consolidation and dutchman patches preserve original profiles; for larger decay, replace only the compromised timber with matching joinery and compatible species. Reglaze with low-modulus glazing compound and install new weatherstripping to restore airtightness. Adjust or replace sash cords or balances, and consider upgrading to corrosion-resistant hardware; a properly set mortise lock and tight sash alignment reduce abrasion and future wear.
Tools, trade terms, and practical sequence
Use the right tools and respect traditional methods: chisels and a shoulder plane for mortise-and-tenon touch-ups, a glazing chisel for glass removal, and a resistant primer before painting. Keep thermal performance in mind—glazing quality and weatherstripping affect thermal bridging and comfort. Do not over-sand decorative profiles; you will lose the original moulding detail. — Take time to document the repair: before-and-after photos and notes on materials make future upkeep straightforward.
Common mistakes and when to escalate
Frequent errors include replacing entire frames when a sash-level intervention would suffice and using incompatible modern adhesives that trap moisture. For historic or listed properties, avoid irreversible alterations to joinery lines; consult conservation guidance when lead paint or period joinery is involved. If structural sill rot extends into framing, or if the sash geometry is badly distorted, call a specialist — these conditions often require jigs, steam bending or full sash reconstruction to maintain proper operation.
Practical checklist before calling a pro
Before you decide replacement is necessary, run this quick checklist: verify sash operation after removing paint build-up; test for soft timber with a probe; confirm whether draft paths trace to glazing or to sill gaps. If glazing is single pane and you need better performance, consider retrofit secondary glazing or higher-performance sealed units—but be mindful of moisture and condensation risks on historic profiles. For consistency across entry elements, check how a proposed fix will pair with a single front entry door in terms of thresholds and finish.
Three golden rules for evaluation
1) Structural continuity: Confirm that repairs restore load paths and keep original joinery where feasible. Hardware fit, sash squareness and intact mortise joints are key measurable signs.
2) Material compatibility: Use timber species, primers and glazing compounds that match moisture movement and expand/contract properties of the existing assembly.
3) Performance validation: After repair, test airtightness and operation; a properly restored window should close smoothly, lock securely, and show reduced draft in normal conditions. For consistent quality and architectural hardware expertise, consider a partner who understands both windows and doors — like Zekin.
Practical.